Wednesday, April 28, 2010

Patchwork Project (part 3)

It's all in the details.

I find that with so many things, the little added touches...the details, really do make a difference!

In order to make the new carseat cover removable (and washable), I had to cut slits to allow for the seatbelt straps. To keep the edges from coming apart I sewed around where the slits would be cut. I also added buttonholes down the sides.

I made some "laces" out of polka dot fabric to keep the carseat cover sides together. I thought bows tied at the bottom would be a cute little detail.

Another detail I thought would be nice to have was seatbelt strap covers. I found this tutorial that suggested using potholders. Since I wanted everything to match, I traced the potholder onto my quilt fabric, cut it out, and added double folded bias tape and velcro.


Finally, this project is complete!

Wednesday, April 21, 2010

Reversible Table Runner with Ruffled Trim

I decided to use some fabric from my stash to make a table runner for our entry table. I've seen a couple of patterns (here and here) that got me motivated enough to make my own. (go here to make the paper bag mushrooms. easy and fun.)
I decided to use fabrics that match the curtains in the living room and kitchen. The curtains in the living room are reversible (i turn them over every six months). The curtains in the kitchen aren't reversible...yet.

One side of the runner is a variety of different strips of fabric that matches both sides of the living room curtains.

And the other side is solid green fabric, like the kitchen.

I wanted to add a ruffle trim because I have been seeing ruffles everywhere. (back in October, when i was making costumes, i found this cool tutorial for sewing ruffles, read down to number 5.)

I really like how it turned out. Now, I think I'd like to make a table runner for the kitchen table. And maybe paint that table in the entry. White. Yeah.. we'll see.


I'm linking here today:

BCD


Tuesday, March 30, 2010

Crochet Hook Case


This gift was made for the occasion of my oldest's birthday. (Which was just yesterday!) She loves to crochet, and I thought it would be fitting for her to have her own tools. Most importantly, I felt she needed something pretty to hold those tools.


For those of you that love to crochet as well... the pattern is the Aluminum Crochet Hook Case. It was a relatively easy pattern to follow. I used cotton yarn that I already had. It holds ten crochet hooks, ranging in size from B to K.

(see some of my additional notes here and here.)

The gift also included a book, entitled Super-Cute Crochet: over 35 adorable animals and friends to make. I thought it would be fun for her to try making some cute little toys, while at the same time learn and practice following patterns.

Wednesday, March 10, 2010

Patchwork Project (part 2)

I feel like I must explain a little bit about this project...

I didn't mean to be suspenseful or sneaky when I didn't explain what I had in mind for this new quilt fabric. I was just a tad bit afraid that if I said what it was, then I would have to go through with it. I would be COMMITTED. And what if I just couldn't cut that quilt up? And what if I did cut it up, and I ruined it?
Well, I did go through with it. And I did cut it up...

I started out by making a pattern from the original seat. I traced it onto some fabric with a marker, leaving lots of room for error.
I cut the pattern out, sewed it together, and tested it out. Then I unpicked it, so I could trace it onto the quilt fabric.

And then with much trepidation, I cut into the quilt fabric. And then sewed and sewed and sewed on some bias tape. Ending up with this:

Now... just imagine... a tiny, newborn baby inside. She's coming soon! I can hardly wait.

Thursday, March 4, 2010

Knitted Bunnies

The thoughts behind for this project came from years of wanting some tangible thing in the hospital with my newborn baby.

I'd heard that keeping a little toy, cloth, or blanket next to the mother for a time would transfer her smell onto it, and could then be placed next to the baby. This would help to calm the baby because he or she could smell the mother close by.

I've wanted to try this for the last few of my children, but never have.
When I decided to start using materials I already have in the house, my thoughts turned to some cotton yarn nuggets and some wool batting. All leftovers from other projects. And all natural materials, perfect for attracting scent.
I thought this little bunny would be the perfect thing for our new baby girl. My hopes are that if I keep this little bunny next to me, she'll begin to smell like me, and then give some comfort to the baby when I'm not around.


At Christmastime, I came across this shop and blog by Rebecca Danger in my attempts to find cute items for handmade gifts. The patterns are at the top of the sidebar.

I also would like to mention another shop, SunflowerRadiantLove, that sells little dolls that would be perfect for the same use because she uses cotton for the faces and and wool for the stuffing. And most importantly because she is so kind in her comments to this blog!

Wednesday, February 24, 2010

Felt Crowns

i said i had more felt projects...


I've wanted to make crowns like these for awhile now. I first saw them in Amanda Soule's The Creative Family. I've since seen them all over the place.


I made these fun little crowns for some of our little girl cousins. I always mean to make things for my children first, but sometimes that just doesn't happen. (Rats!) I AM going to make a felt crown for each of my children. I figure they'd be great birthday crowns, to be worn each year on their special day!


The crowns were made using left over felt.
  • I made a simple pattern out of cardstock.
  • I folded the felt and placed the pattern on the fold. I did this twice (one piece for the front, and one piece for the back).
  • I added different decorative touches to the front piece using ribbon, felt cutouts, ricrac, and buttons.
  • Then I sewed the two pieces of felt together, putting some elastic in the back for stretch.

(my favorite is the yellow one. it has an orange and pink butterfly on the front, and some flowers on the side. i didn't get a good picture though before i gave it away. i also made a couple for some little boys. the crown here is what got me started.)

Wednesday, February 17, 2010

Patchwork Project (part 1)

This project has been in process for a little bit. The first part is now complete, so I wanted to share it. (besides, i thought we needed a break in the felt projects. because really, there are more to come...)

I started by gathering some raw materials from around my house. And then I began cutting them into 4" squares. Once I had a tidy little stack, I laid them out on the living floor in a few different patterns. I let my children decide on the pattern they liked the best.
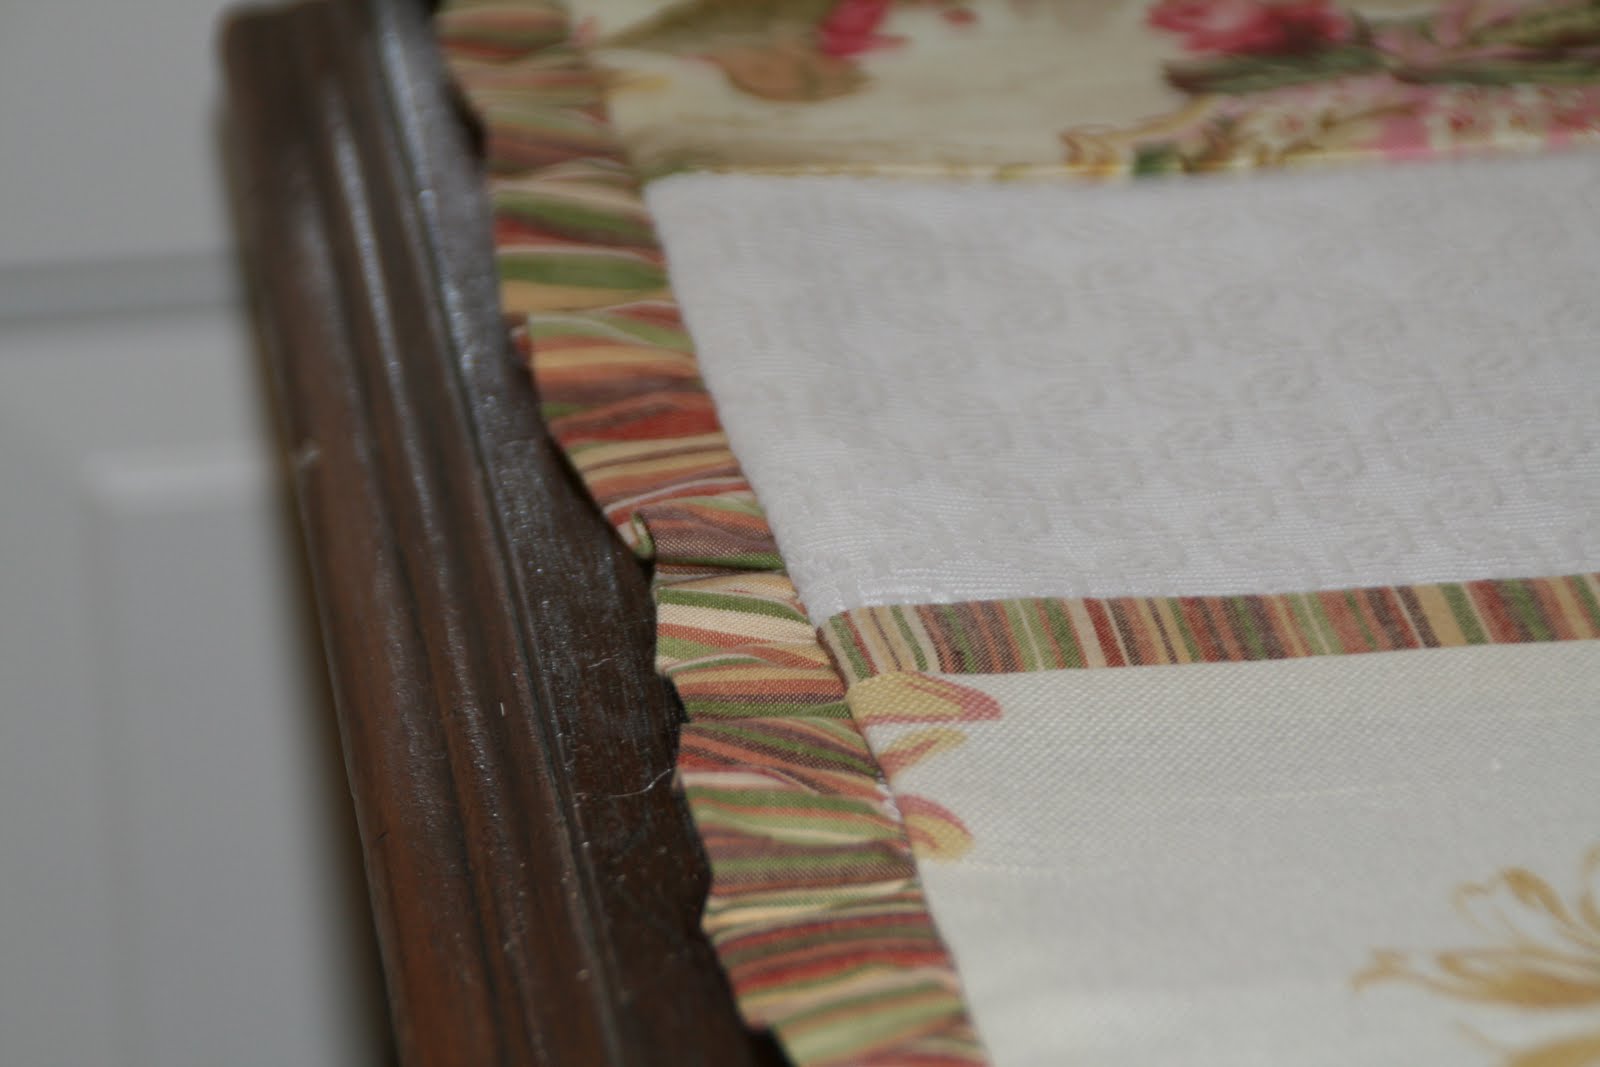
Next, I began sewing the squares together in rows. Then I sewed the rows together. Once I had the top together, I had to piece the brushed twill together to make the bottom. I did this in vertical strips. (I did it this way, because I didn't have one big piece of twill, and I wanted to use what I had instead of buying more.)
Then, I sandwiched a piece of batting in between the top and bottom pieces. I pinned it, and machine quilted them together. I only did (semi) straight lines, nothing fancy because it was my first time.
After hearing my mom talk about some things her cousins were doing, I decided to try adding some hand quilting using crochet thread. I picked a hot pink color from the stash my grandma gave me, and went to work.

I just used a simple basting stitch in a diagonal, following the white twill squares. I didn't use a hoop or have it set up on frames, so the result is a little crazy. (that's my belly on the bottom of the picture.)
I couldn't decide if I should do one line through the white squares, or have them criss-cross. I asked my husband, oldest daughter and youngest daughter, and they all liked the criss-cross. So that's what I did.

And I'm glad I did. Even though, the lines aren't straight and it's sort of crazy, I like the result. I like the imperfection. It makes it seem really personal and from the heart.
It would make a super cute quilt, but I don't think that's what this is going to end up being. I have something else in mind. And it's been in mind since the beginning. I just have to get up the nerve to cut this new fabric into pieces!

Wednesday, February 10, 2010

Fun with Felt

So I've been taking an accounting of the materials I have in my home... and it just so happens that I have an enormous amount of felt. ENORMOUS, I tell you. (that is where last week's post came from).

But really, it all started with these little babies!


I had seen Betz White's tutorial for a felted brooch last year sometime. Then I looked it up again and thought I would start looking for wool sweaters at the thrift store. Which I did, but didn't have very good luck.
Then after my materials inventory, that is still ongoing, the thought came to me that I could easily substitute felt. (i know, amazing, huh.) So I did! And with lovely results.

Here's the tutorial again, for anyone that's interested.

Check out the individual flowers here.

I thought I'd try some link parties for fun!


Show and Tell Green

Felt Flowers for Sale

If you like these flowers and just don't have the time or materials readily available, I have some that I would be willing to sell.

These little flowers would be great for making hair holders, shoe clips, or whatever your imagination can think up!

The price is for the flower ONLY. I have not attached anything. You can leave a comment or email me.

Single pink and orange flower, approx. 2.5" x 3.5": $1.50 SOLD


Pair of orange and yellow flowers, approx. 2.5" x 3.5": $3.00 NO LONGER AVAILABLE

Single pink and white flower, approx. 3" x 3": $1.50 SOLD

Pair of light pink and dark pink flowers, approx. 2.75" x 2.75": $3.00 SOLD

Wednesday, February 3, 2010

Valentine's Garland


I found this cute little project over on madebyrae, and I just HAD to give it a try.


It was just as simple and easy as she said it would be... some cutting, some sewing, and Voila! A pretty little garland.
Just in time for Valentine's Day!

LinkWithin

Related Posts with Thumbnails